Hardware
NVflash: how to flash a GPU BIOS (and get back to stock)
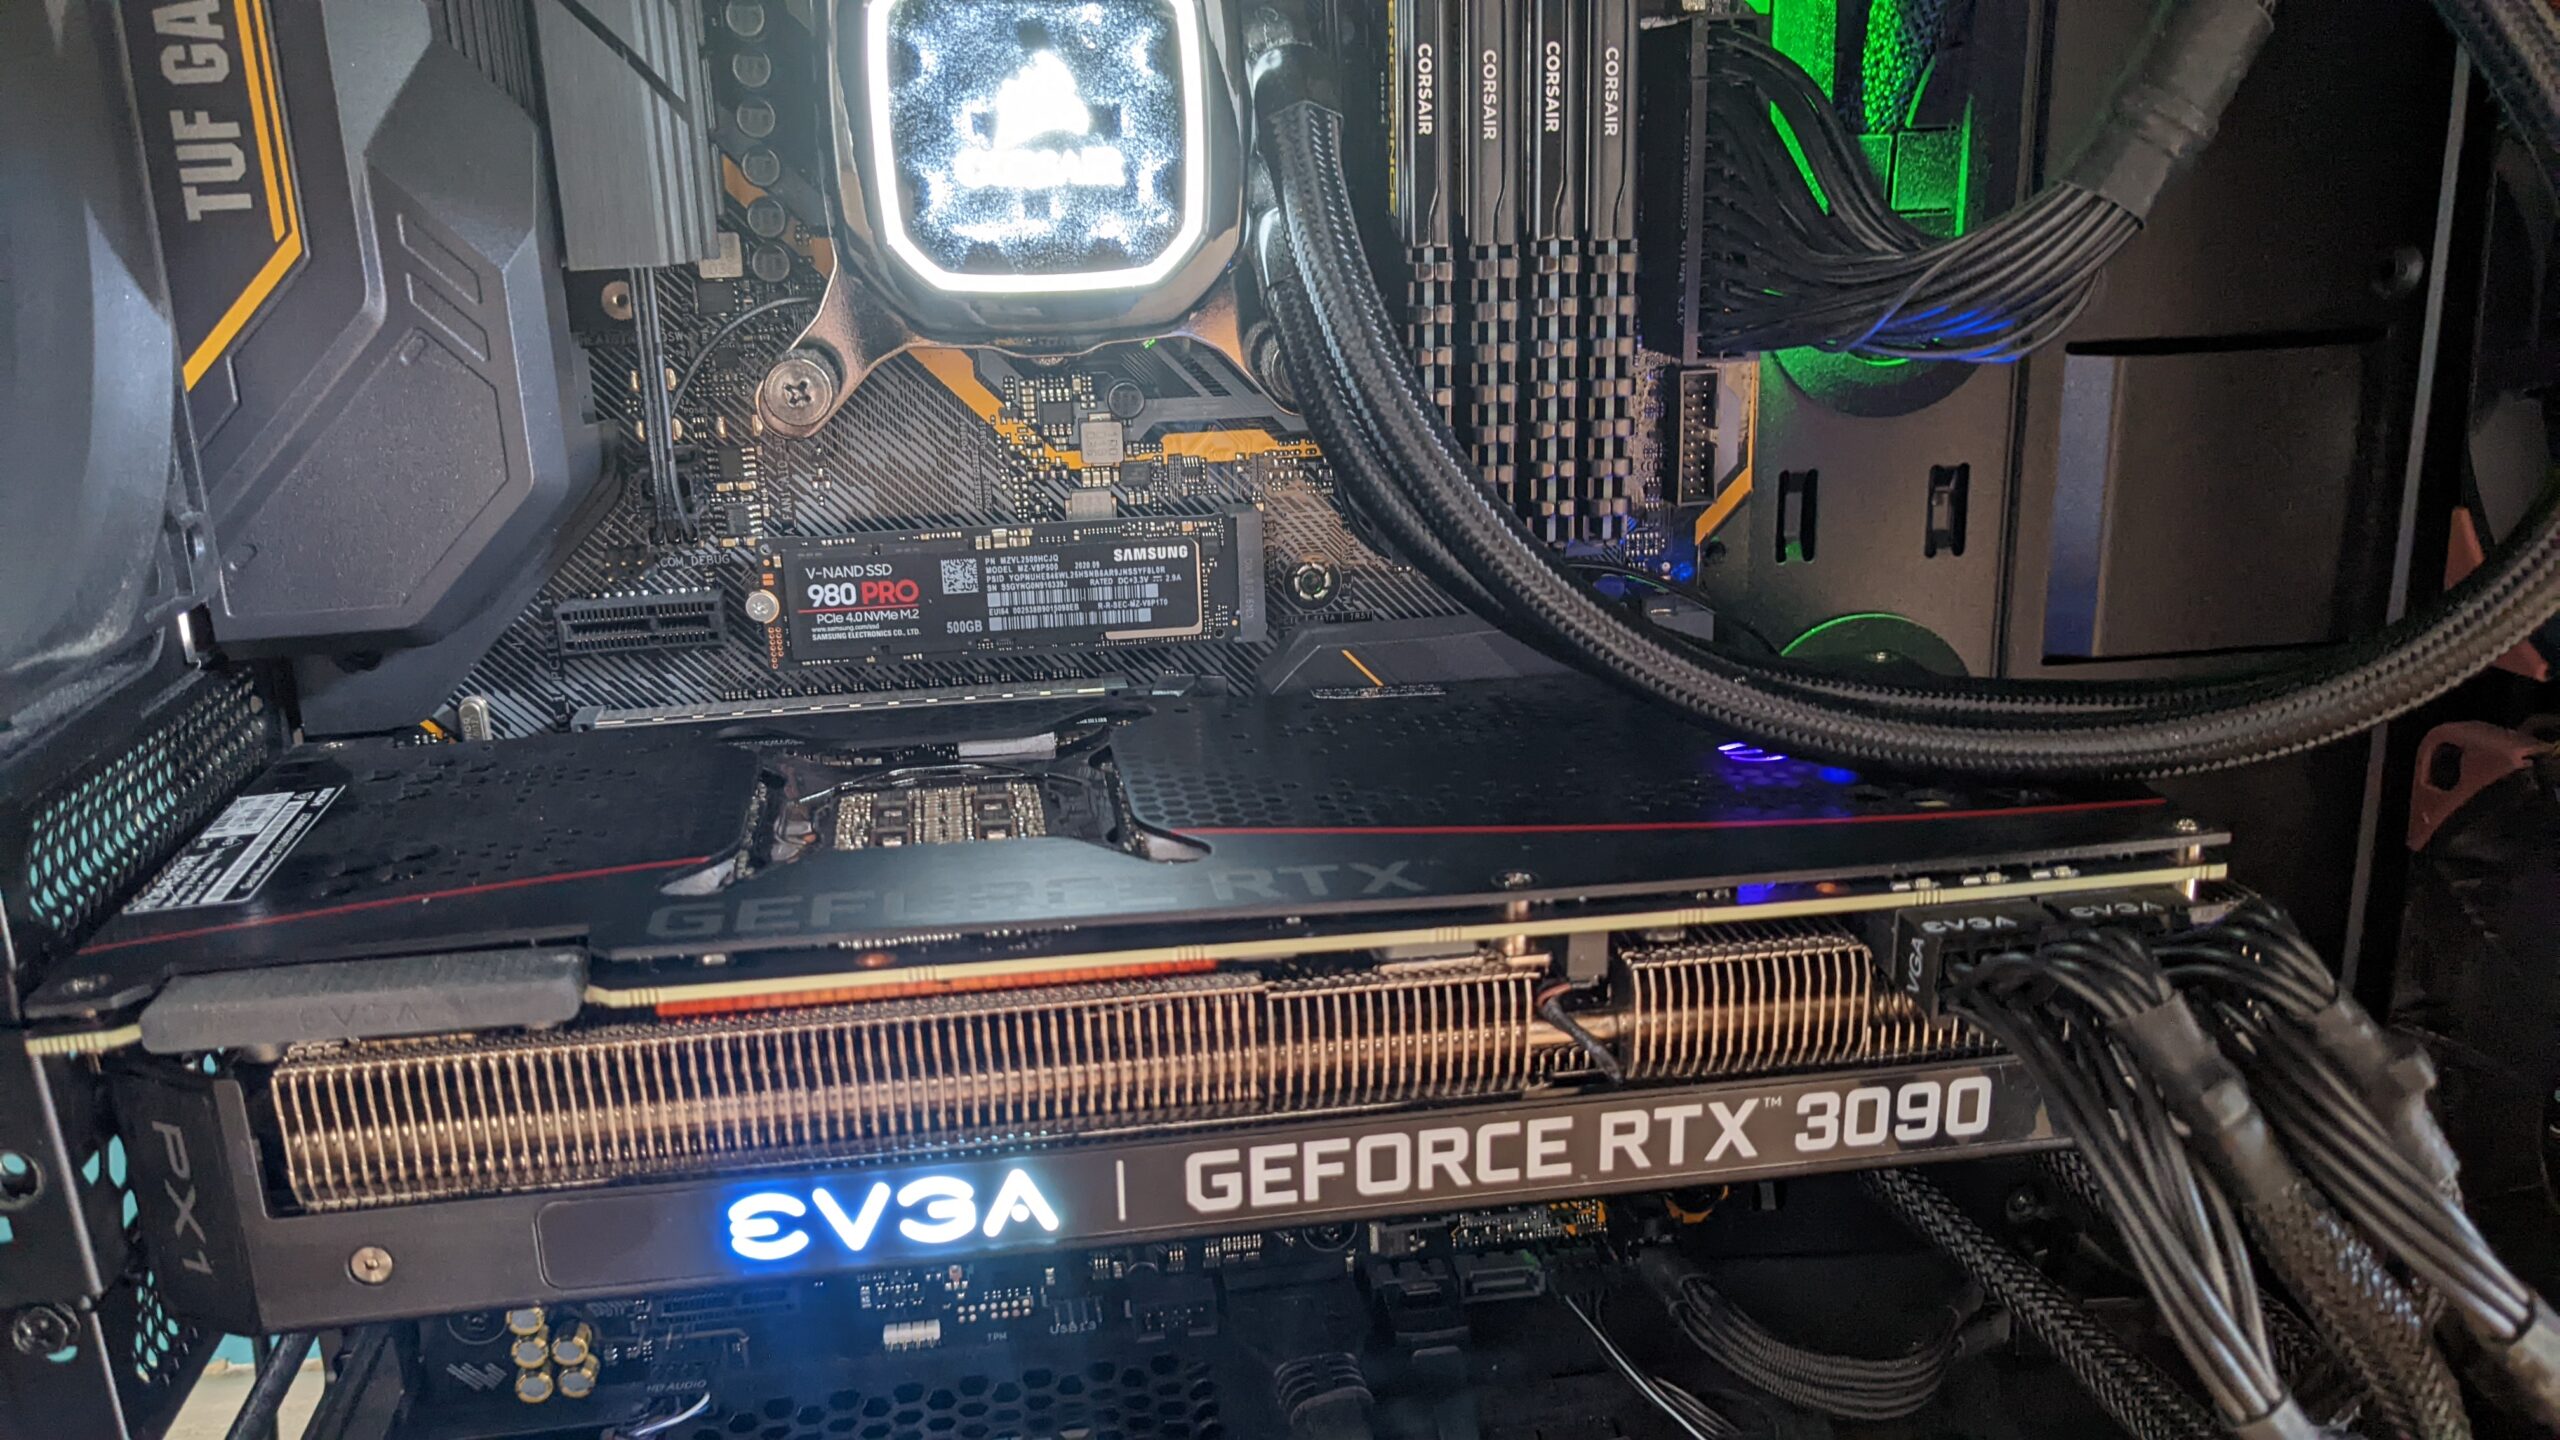
An interesting situation where I have in hand an EVGA XC3 Ultra gaming with Zotac bios installed – this card was on my desk after the thermals become a little undesirable. I thought I’d put it on the test bench, and low and behold:
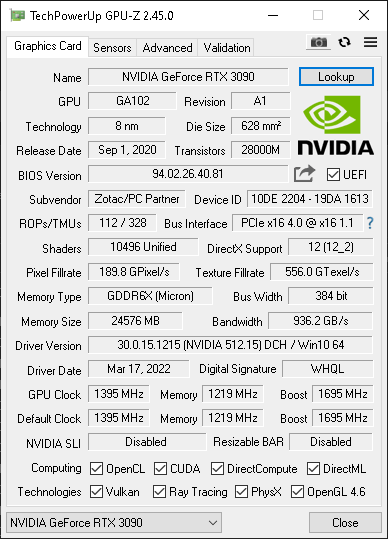 An EVGA XC3 3090 Ultra running a Zotac Bios?
Very odd. So, Here’s how I find the correct original bios and then flash the card back to stock. This guidance would come in handy for anyone needing to return their GPUs to stock bios or folks wanting to try different bios in their GPUs
Updated September 2026: the steps below still work. NVflash is still the tool, and current builds are on TechPowerUp’s NVflash page. Recent NVIDIA cards only accept signed BIOS images, so a stock BIOS from a board of the same design flashes fine and a hand-modified one does not. A command reference table now sits at the end of the guide.
Board compatibility
Most reference boards are more or less exactly the same. They may have more or fewer fans and 3 power sockets, not two – so keep an eye out for that. Fortunately, Techpowerup provides a list of boards based on the same design so, when you look up an EVGA XC3 Ultra on their site, you’ll see results like this:
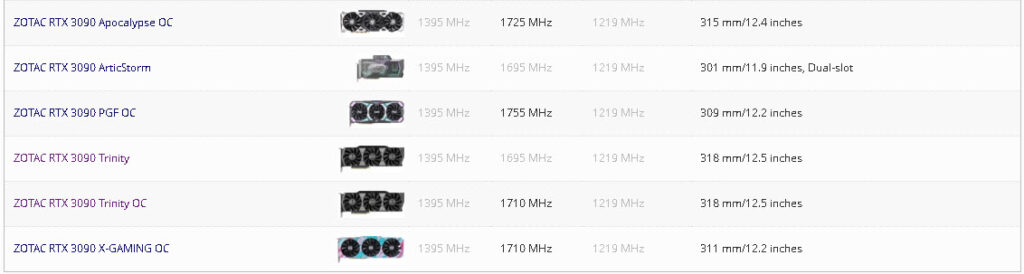 Boards based on the same design as an EVGA XC3 Ultra
Clearly, it makes sense to choose designs with the same number of fans and PCI-E power sockets, for example; via the GPU bios page, you can gather some basic information about display port numbers and power requirements, and so on. A bit of googling never hurts,
So, download the correct bios, and NVflash. Put NVflash in a directory on your C:\ drive, and put the bios in there for safekeeping. Running NVflash is as simple as opening CMD as administrator and changing the directory to wherever you unzipped NVflash.
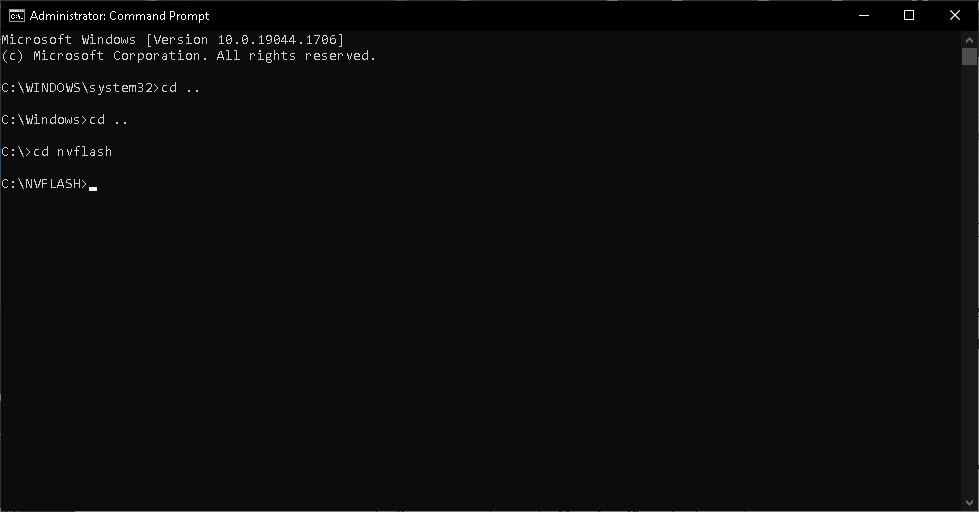 NVflash is ready to go
It’s essential to know the number the GPU has been assigned. There’s only one GPU in this machine so I’m guessing it’ll be 0. Use the –list argument to find out like so:
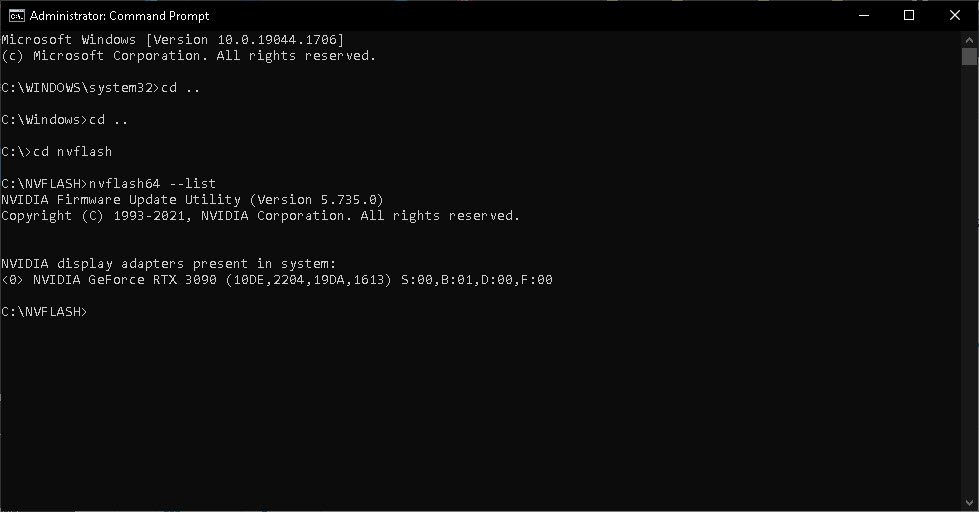 –list command in NVflash – our GPU is indexed as device <0>
So, if you’re feeling confident, here’s how to flash new bios to a GPU using NVflash:
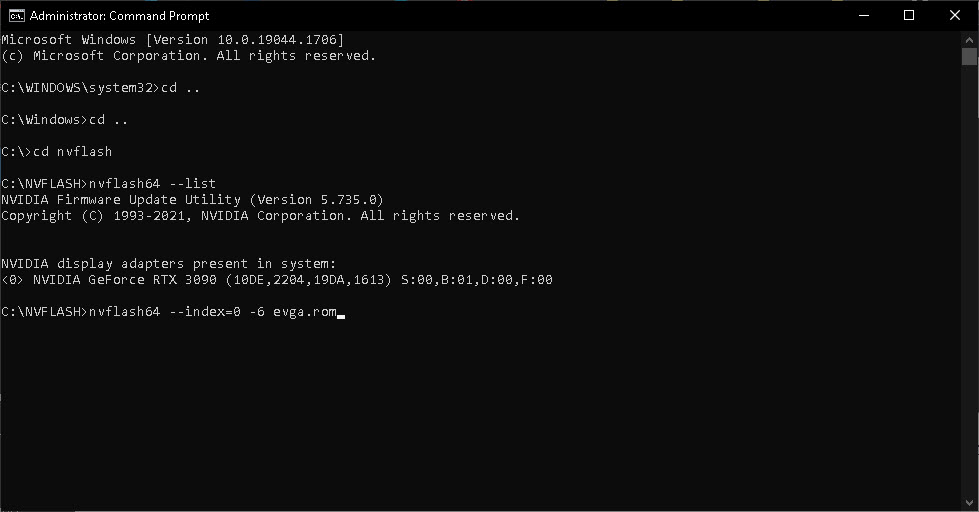 The -6 overrides any mismatch in the board’s identification on the board’s device ID
If you’re happy, press enter:
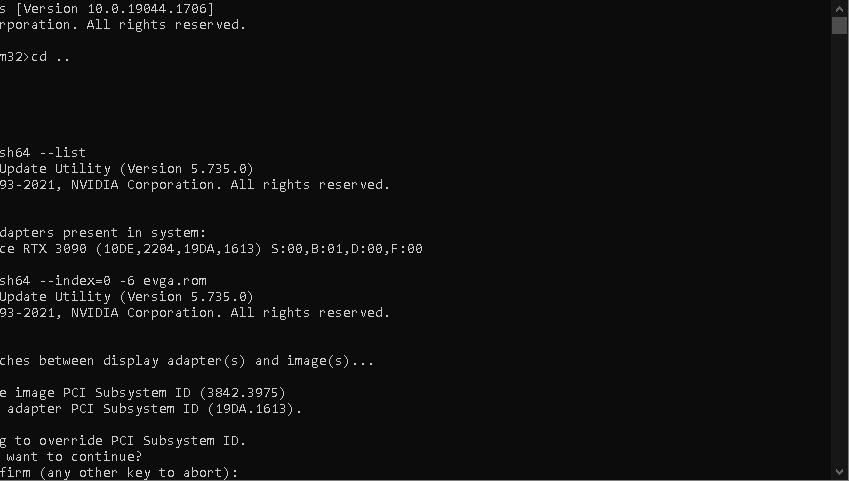 Ready to go: press “Y” and then “Y” again moments later and let it do its thing
Once you’ve acknowledged that you’re happy to override the PCI subsystem ID, off it goes:
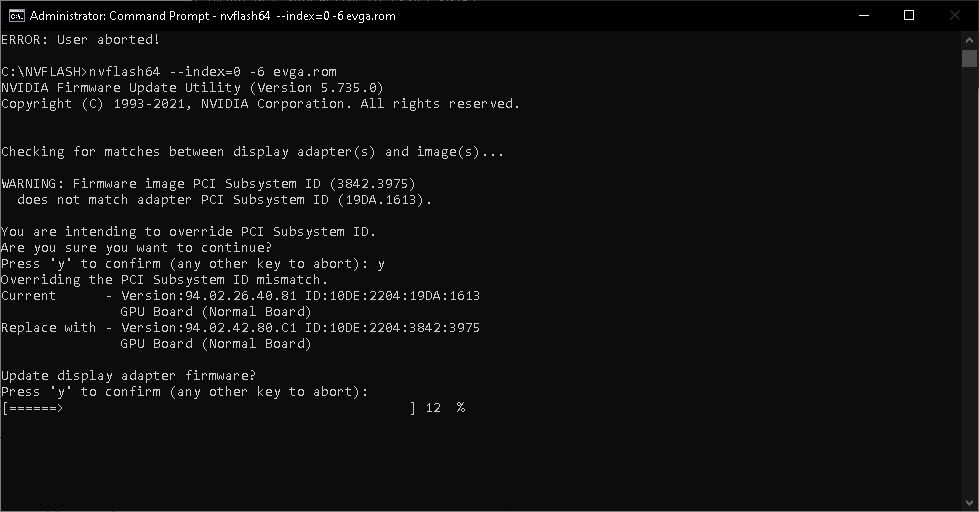 NVflash flashing the new bios
After this is complete, the machine will require a restart.
Once restarted I head to device manager to make sure all is well. It can take a few moments at boot for the device to reappear under “Display adapters”.
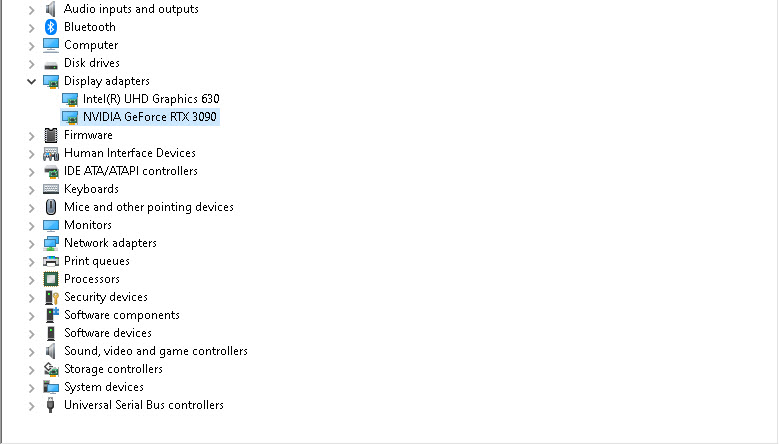 All seems well!
Finally, open GPU-Z to see what it thinks of the board:
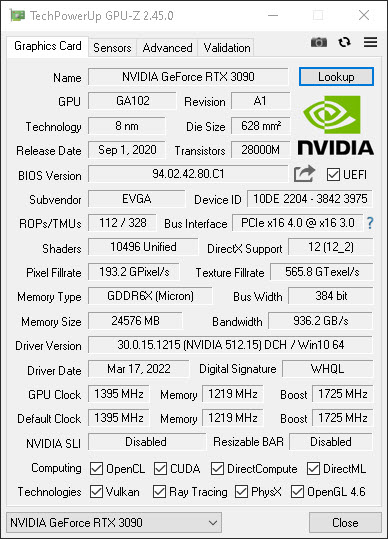 The correct EVGA Bios now installed on this XC3 3090
And that, very briefly, is how to flash different bios to your GPU. EVGA Precision X1 will now recognize the card and will execute any newer firmware updates should they be available. Happy hashing!
NVflash command reference
| Command | What it does |
|---|---|
nvflash64 --list | Lists the installed GPUs and their index numbers |
nvflash64 --save backup.rom | Saves the card’s current BIOS to a file |
nvflash64 --version bios.rom | Shows the version details of a BIOS file before it is flashed |
nvflash64 -6 bios.rom | Flashes the BIOS, overriding a PCI subsystem ID mismatch |
nvflash64 --index=N ... | Targets one card when several are installed (N is the number from --list) |
nvflash64 --protectoff | Removes EEPROM write protection |
NVflash runs from CMD opened as administrator. Download: TechPowerUp’s NVflash page.
Keep reading
Cooling my 3080 Founders Edition GPUs with better thermal pads
Copper Modding a 3080 Founder's Edition
GeForce RTX 3090 Ti – First Impressions
How to build a water-cooled crypto mining rig
How to improve cooling: NVIDIA 3090 FE waterblock install / thermal pad replacement